Building Custom Mechanical Keyboards: A Guide
A comprehensive introduction the world of building and customizing mechanical keyboards.
@
Written with ❤️ by Alexotos
Keyboard expert and content creator
Table of Contents
If you’ve ever asked yourself, “how do I build a custom mechanical keyboard?”, I have some info for you to get started based on my personal experiences in the hobby. This article will be where to start in this vast and, sometimes, confusing hobby. While it’s easy, it’s not as simple as just saying I want a custom board for ‘x’ amount of dollars. So let’s figure this out together.
And to start figuring out things, let's first get a quick and basic understanding of the parts that go into a keyboard:
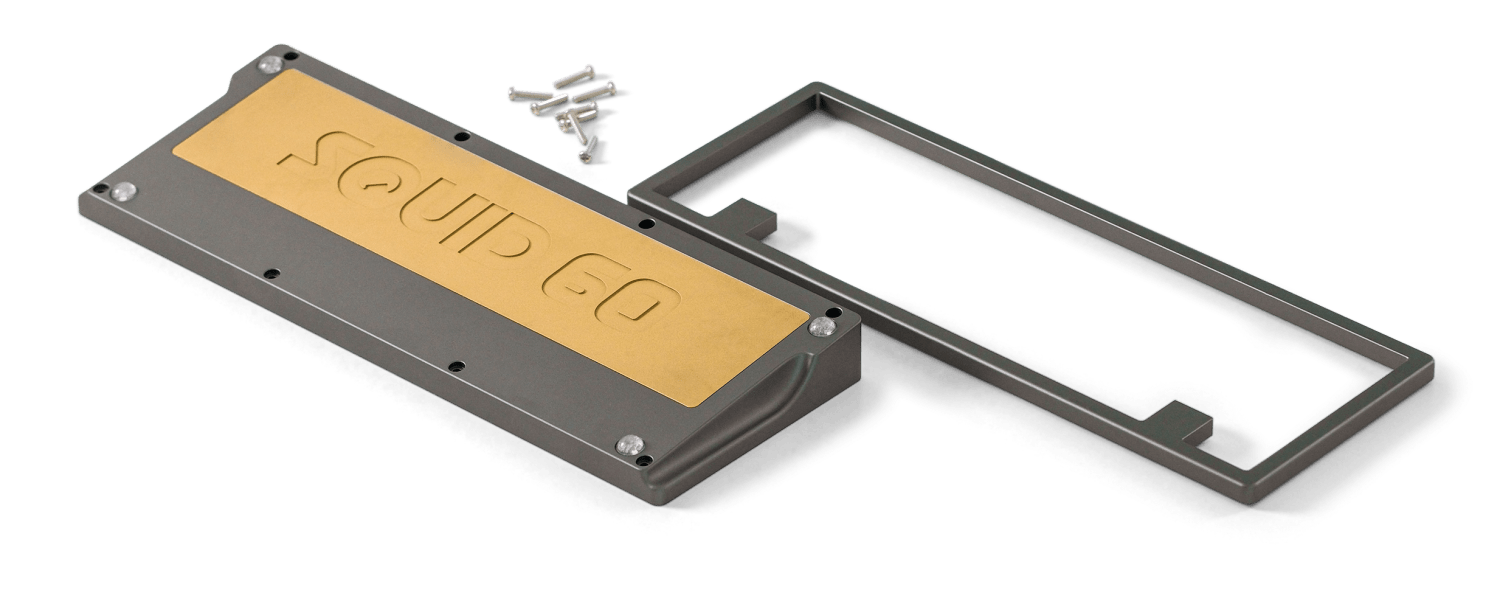
Keyboard Case

The outer shell of the keyboard. This is self-explanatory and houses the internals of the board. Sometimes these are a single piece, and sometimes multiple. It’s an important decision as this will decide how your keyboard looks and some of the options that go in it.
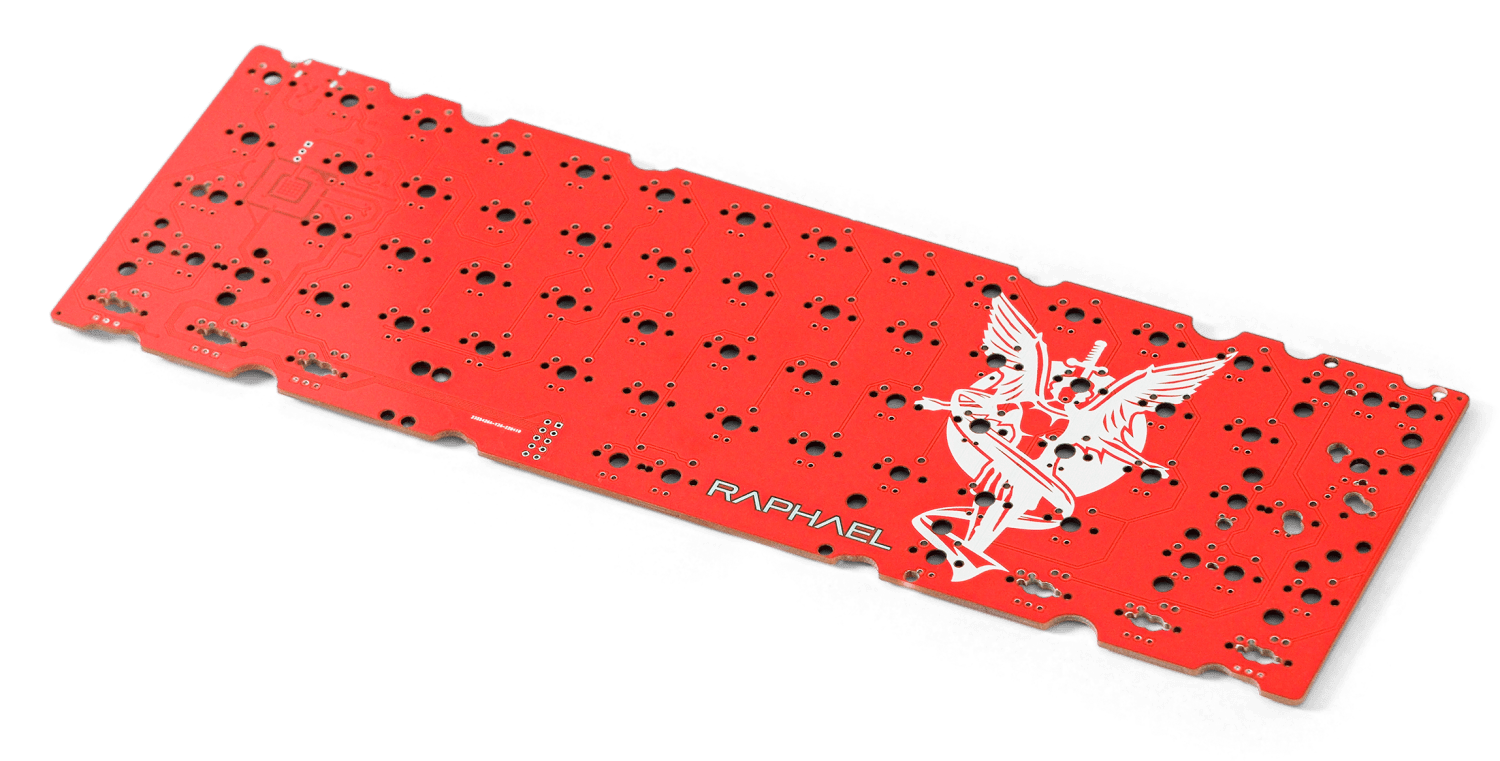
PCB

Next up we have the PCB (printed circuit board). Think of this as the brain of the keyboard. This is where you’ll put your switches and stabilizers on. These come in either solder or hot swap models. We’ll dive into that later.
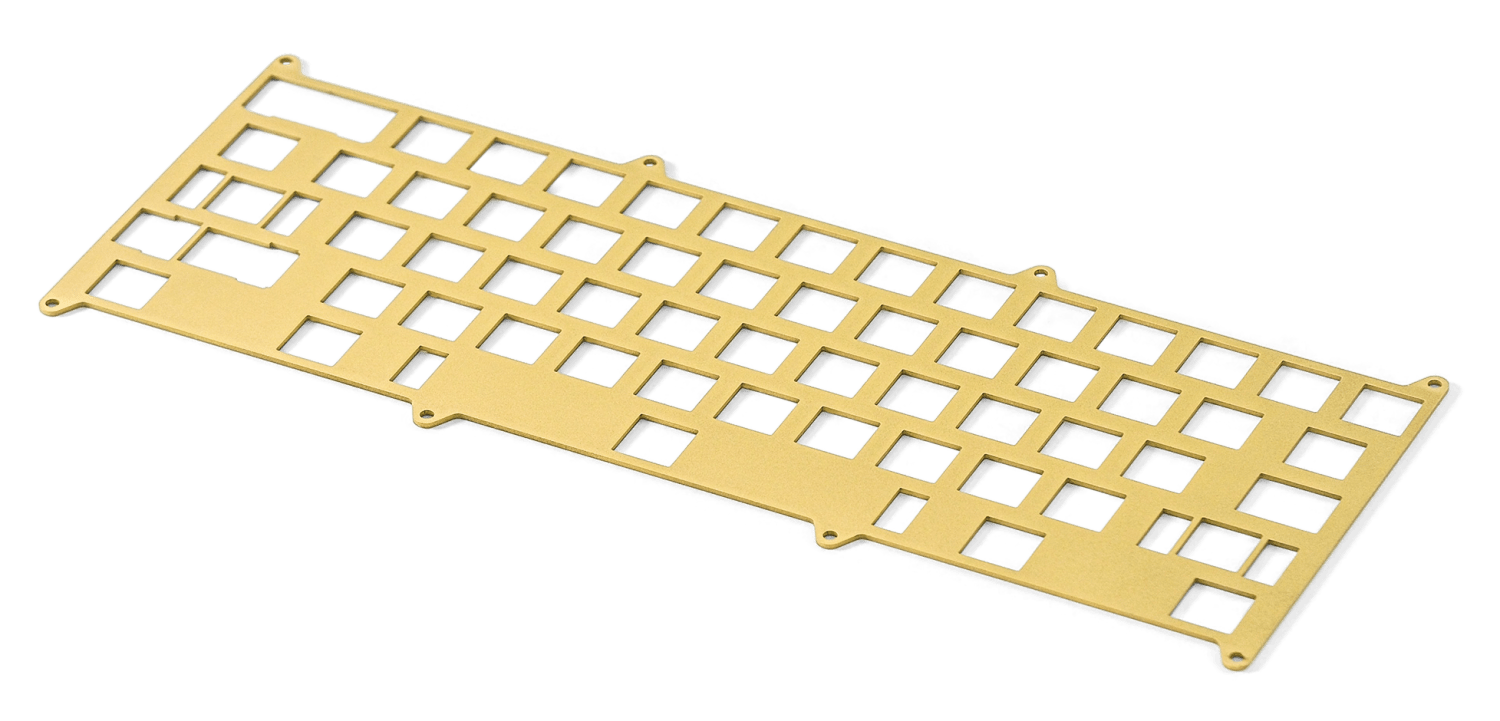
Plate

Then we have your plate. This is important! The plate assists in mounting your switches to the PCB. It allows the housing of the switch to essentially lock into place, which assists it in locking its position, and then the switch can be soldered, or seated for hot-swap, into the PCB.
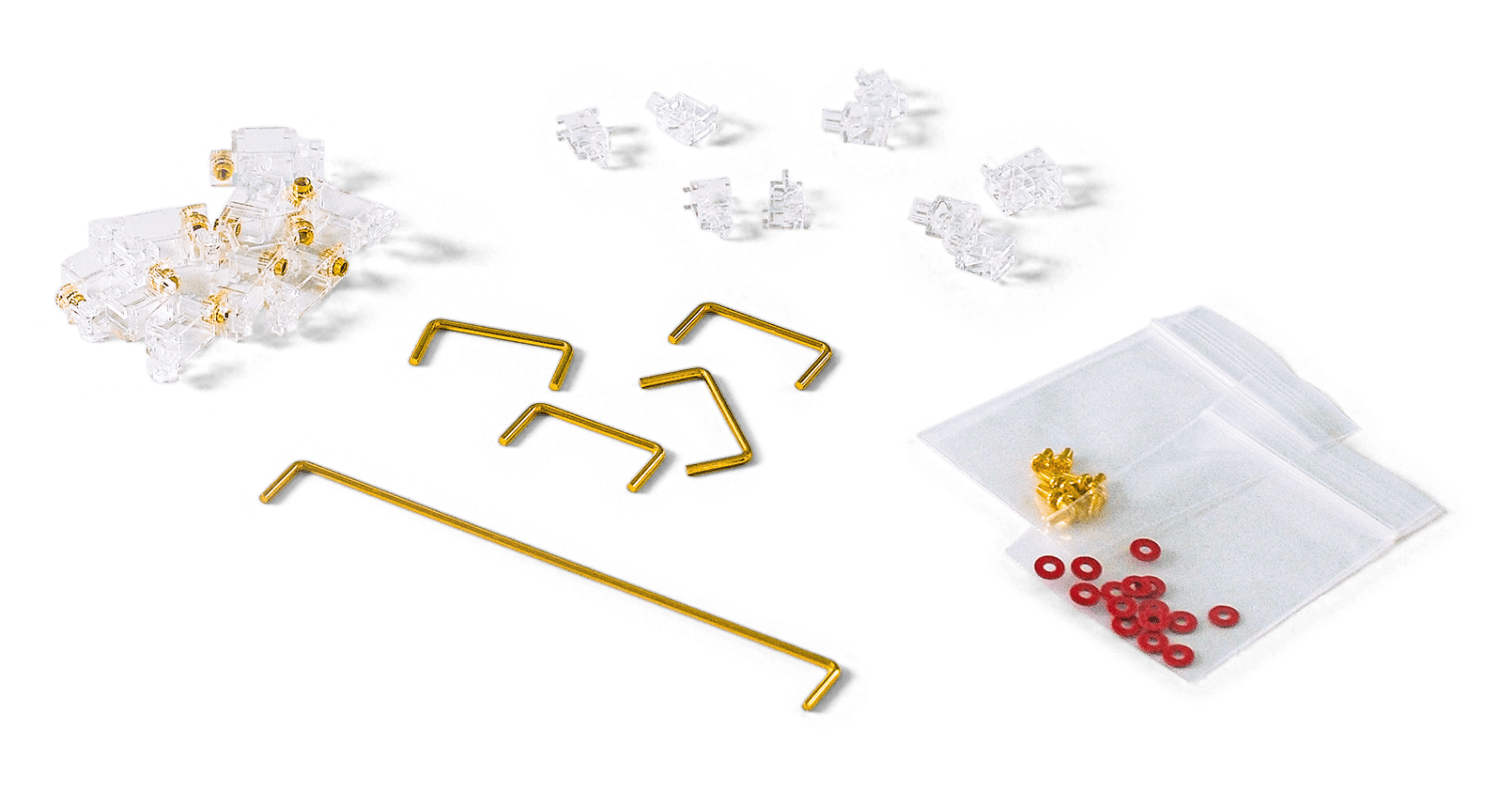
Stabilizers

Stabilizers come up next. Without overcomplicating it, they stabilize the wobble of the larger keys like the shift, enter, and space bar. These are 100% essential!
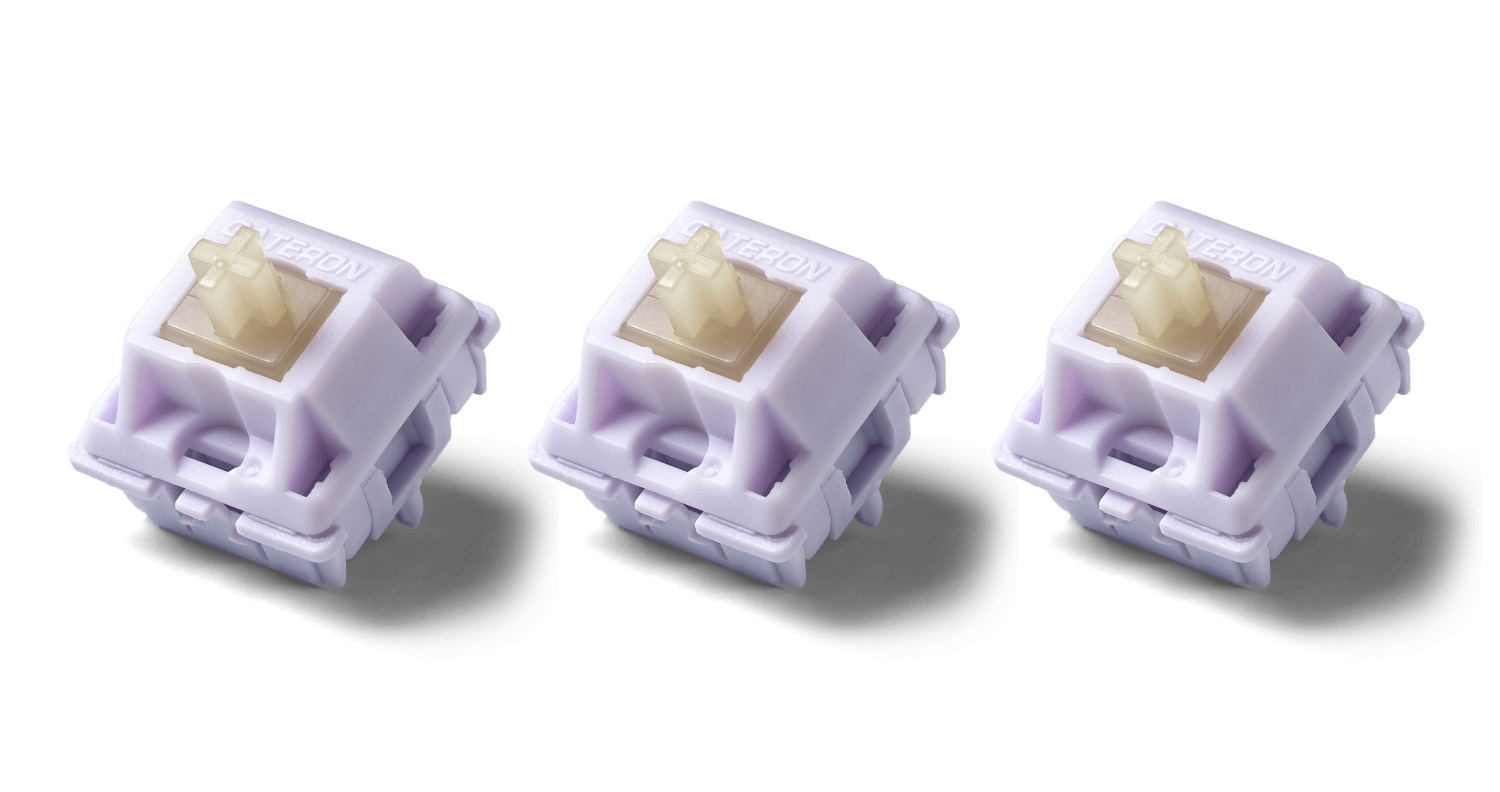
Switches

Then you’ll need your choice of switches. There are so many to choose from these days and we will dive into that in the article.
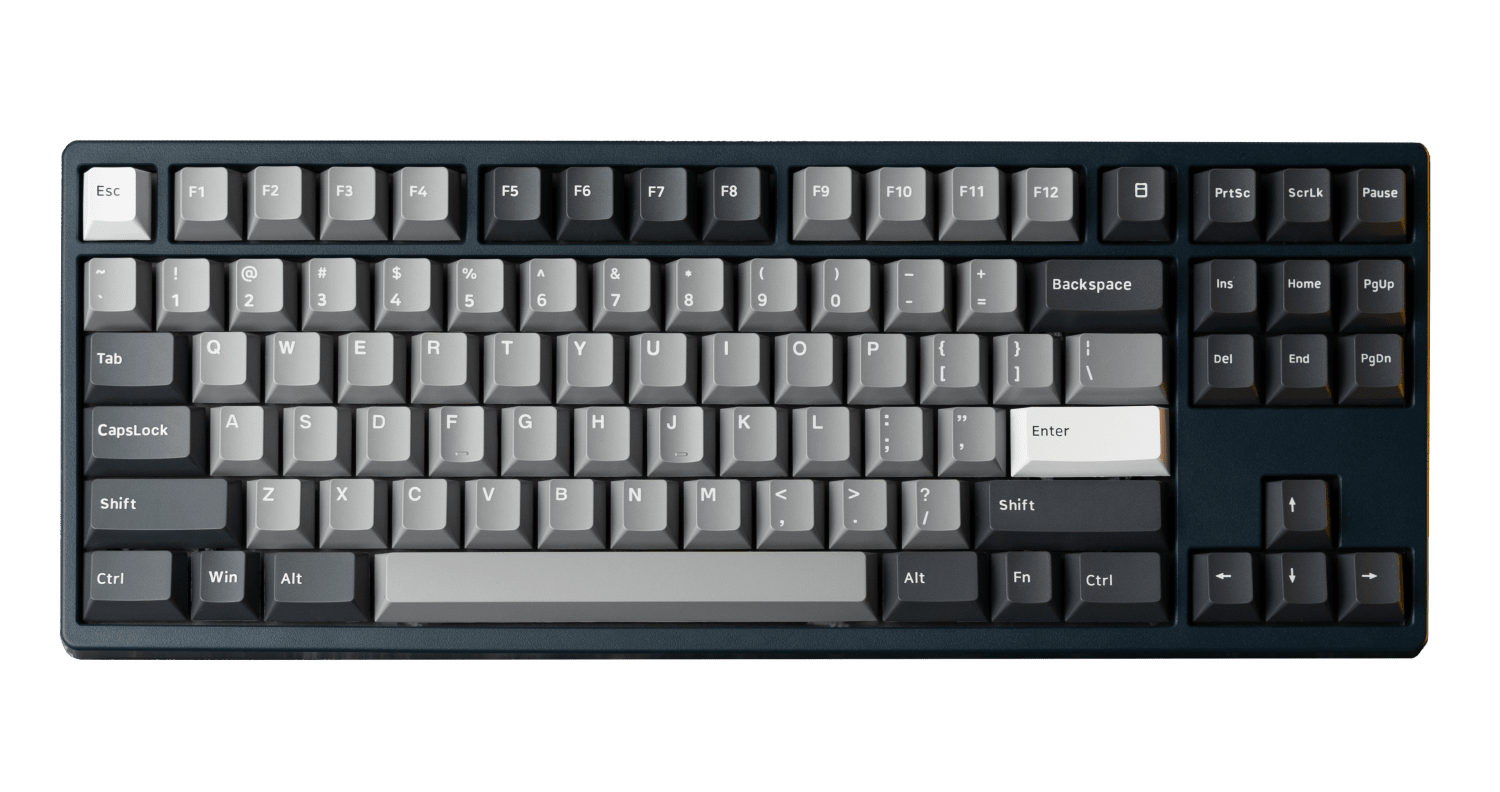
Keycaps

You can let creativity shine with these! These can be found on several websites and can be broken down into a few things. Profile, keycap sets, and artisan keycaps. If you’ve used gaming keyboards from big brands, you’re most likely used to OEM caps, in which case the Cherry profile is probably the easiest transition.
Keyboard Layouts
Now that we have clarified what the basics are, we can make our biggest decision in the process of making a custom keyboard. This is picking our layout. This can be a tough decision for a lot of people simply because they are unsure about what size/layout they want.
The most common sizes to most people are 60%, TKL, and Full. But there are tons of different sizes like 60%, 65%, 75%, TKL (tenkeyless), and 1800 layouts. So how do we decide?
There are a few things to consider when picking a size. Deskspace is usually at the top of importance for most. If you have more space on your desk, then any of these work! But, if you don’t, something smaller like a 75% layout may be ideal.
The next thing you should consider is what you need it for, if it’s for work and you need specific keys, like an F row or arrows, this will play a huge factor in your decision making. If you play video games and don’t use anything but WASD, perhaps a 60% is ideal! This is a personal choice that you will have to take some time to figure out, but those are some suggestions that may help!

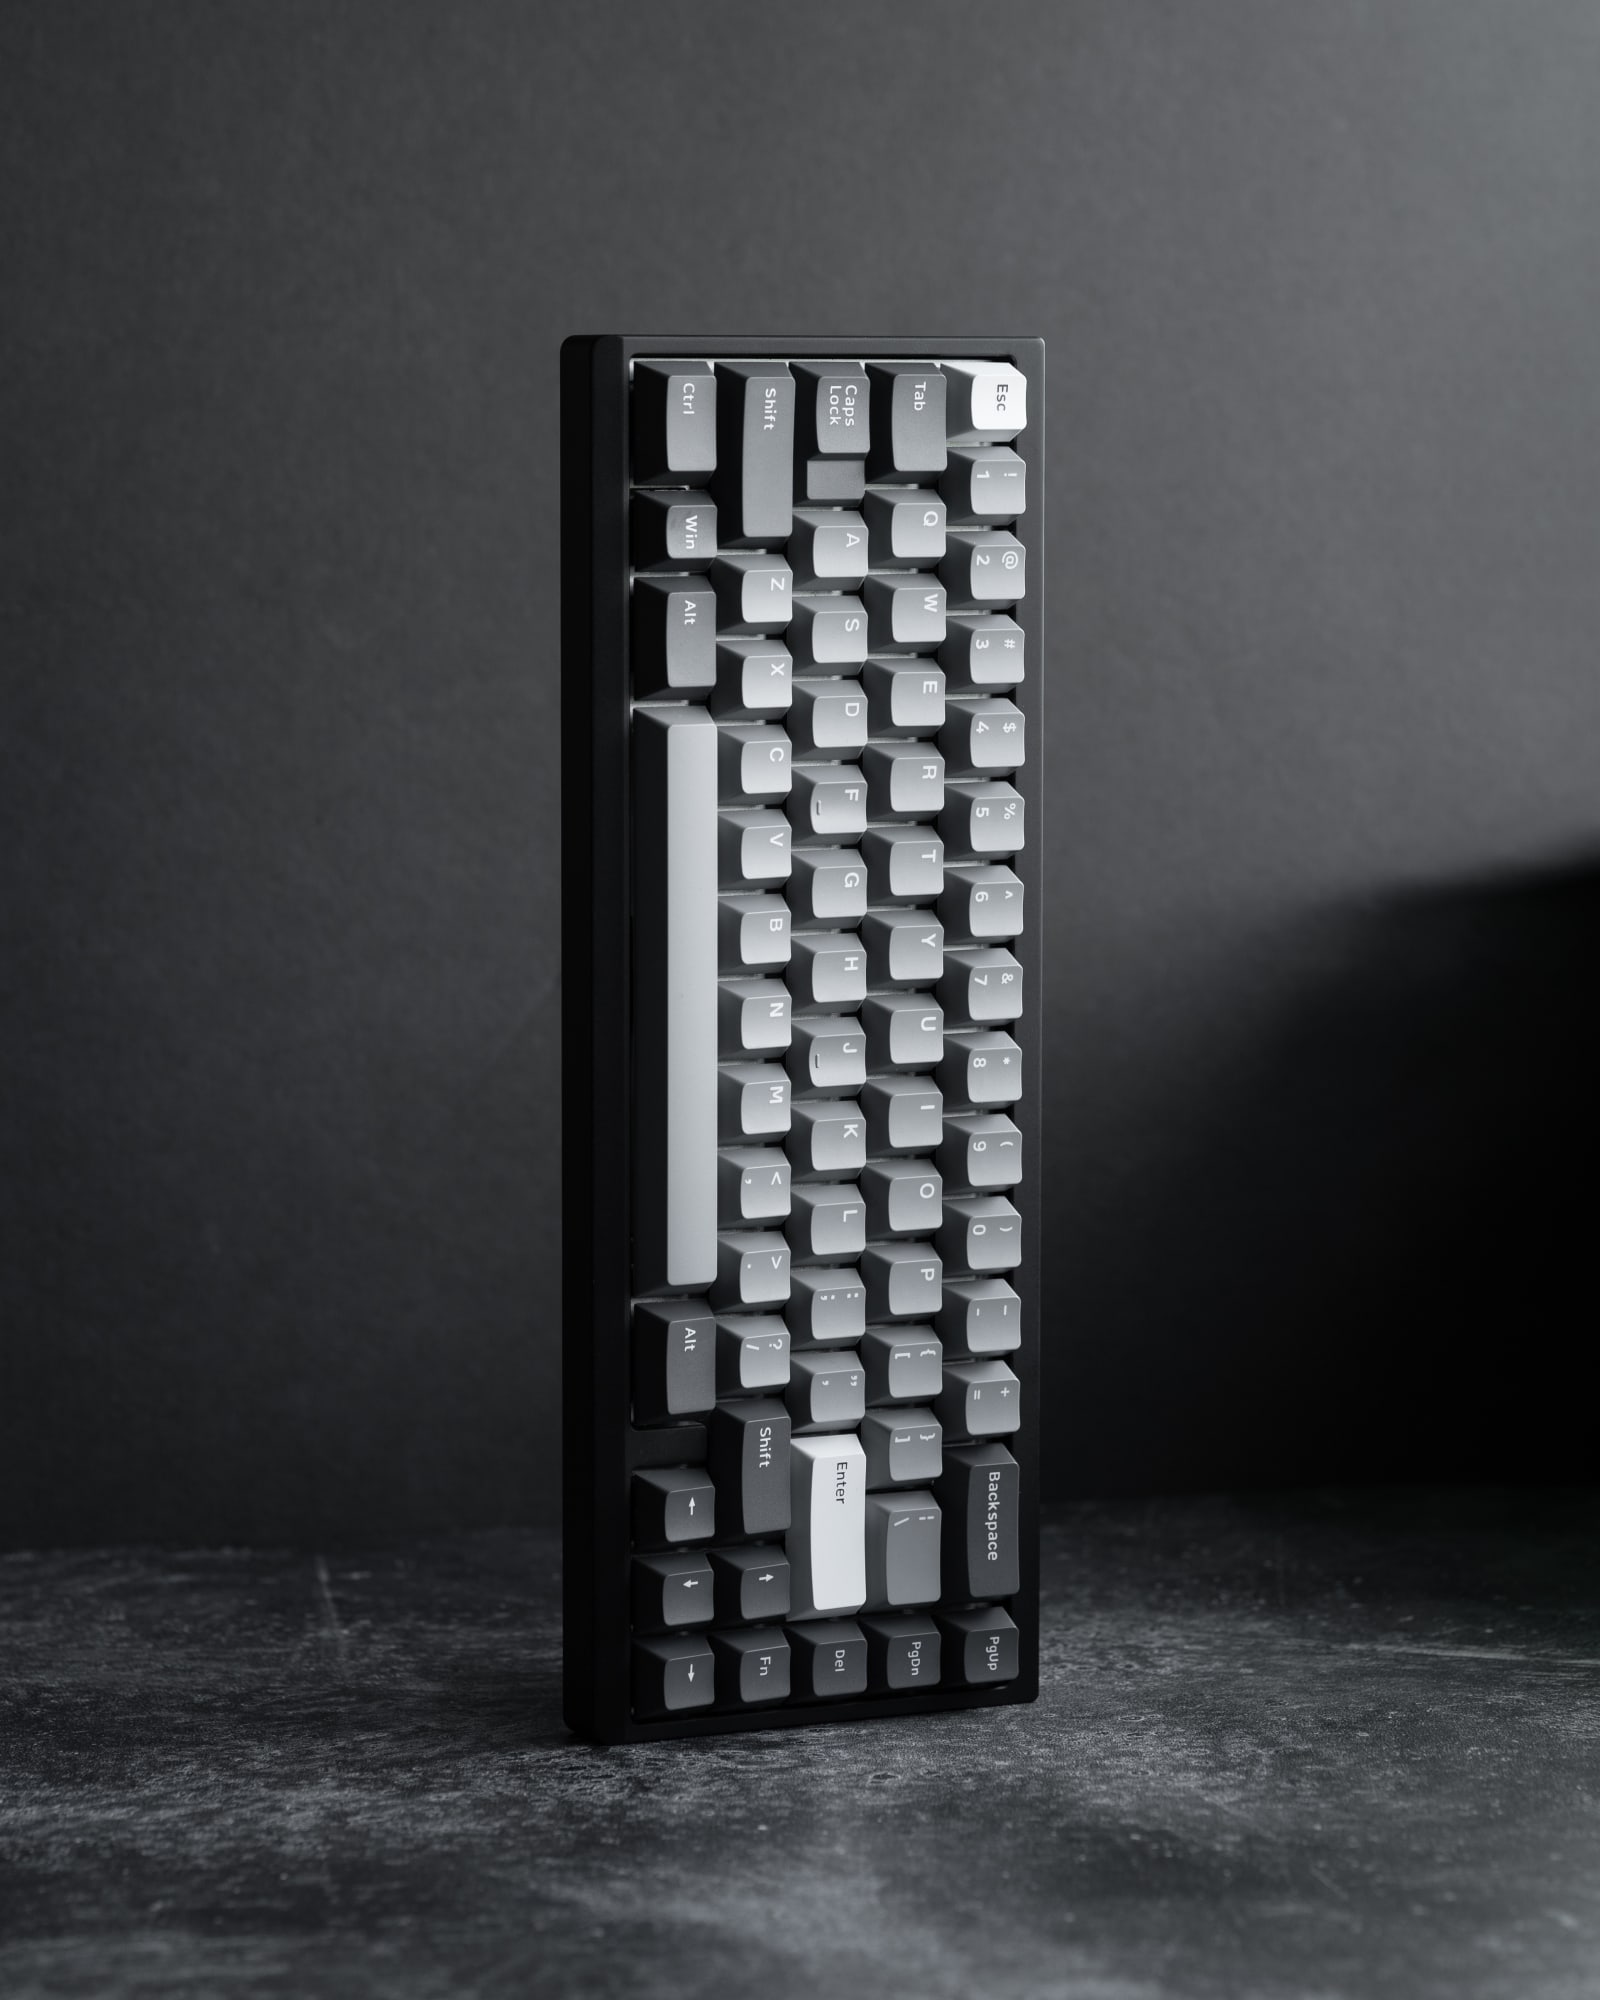
Candy Shop Keycaps on a 75% Layout Keyboard
My recommendation: Consider trying a TKL or 75% layout to start. They are the easiest to ease into especially if you’re coming from the world of standard full-size boards. The most popular layout tends to be 65% since you don’t lose arrows, so that might be a perfect choice for gamers and many other people.
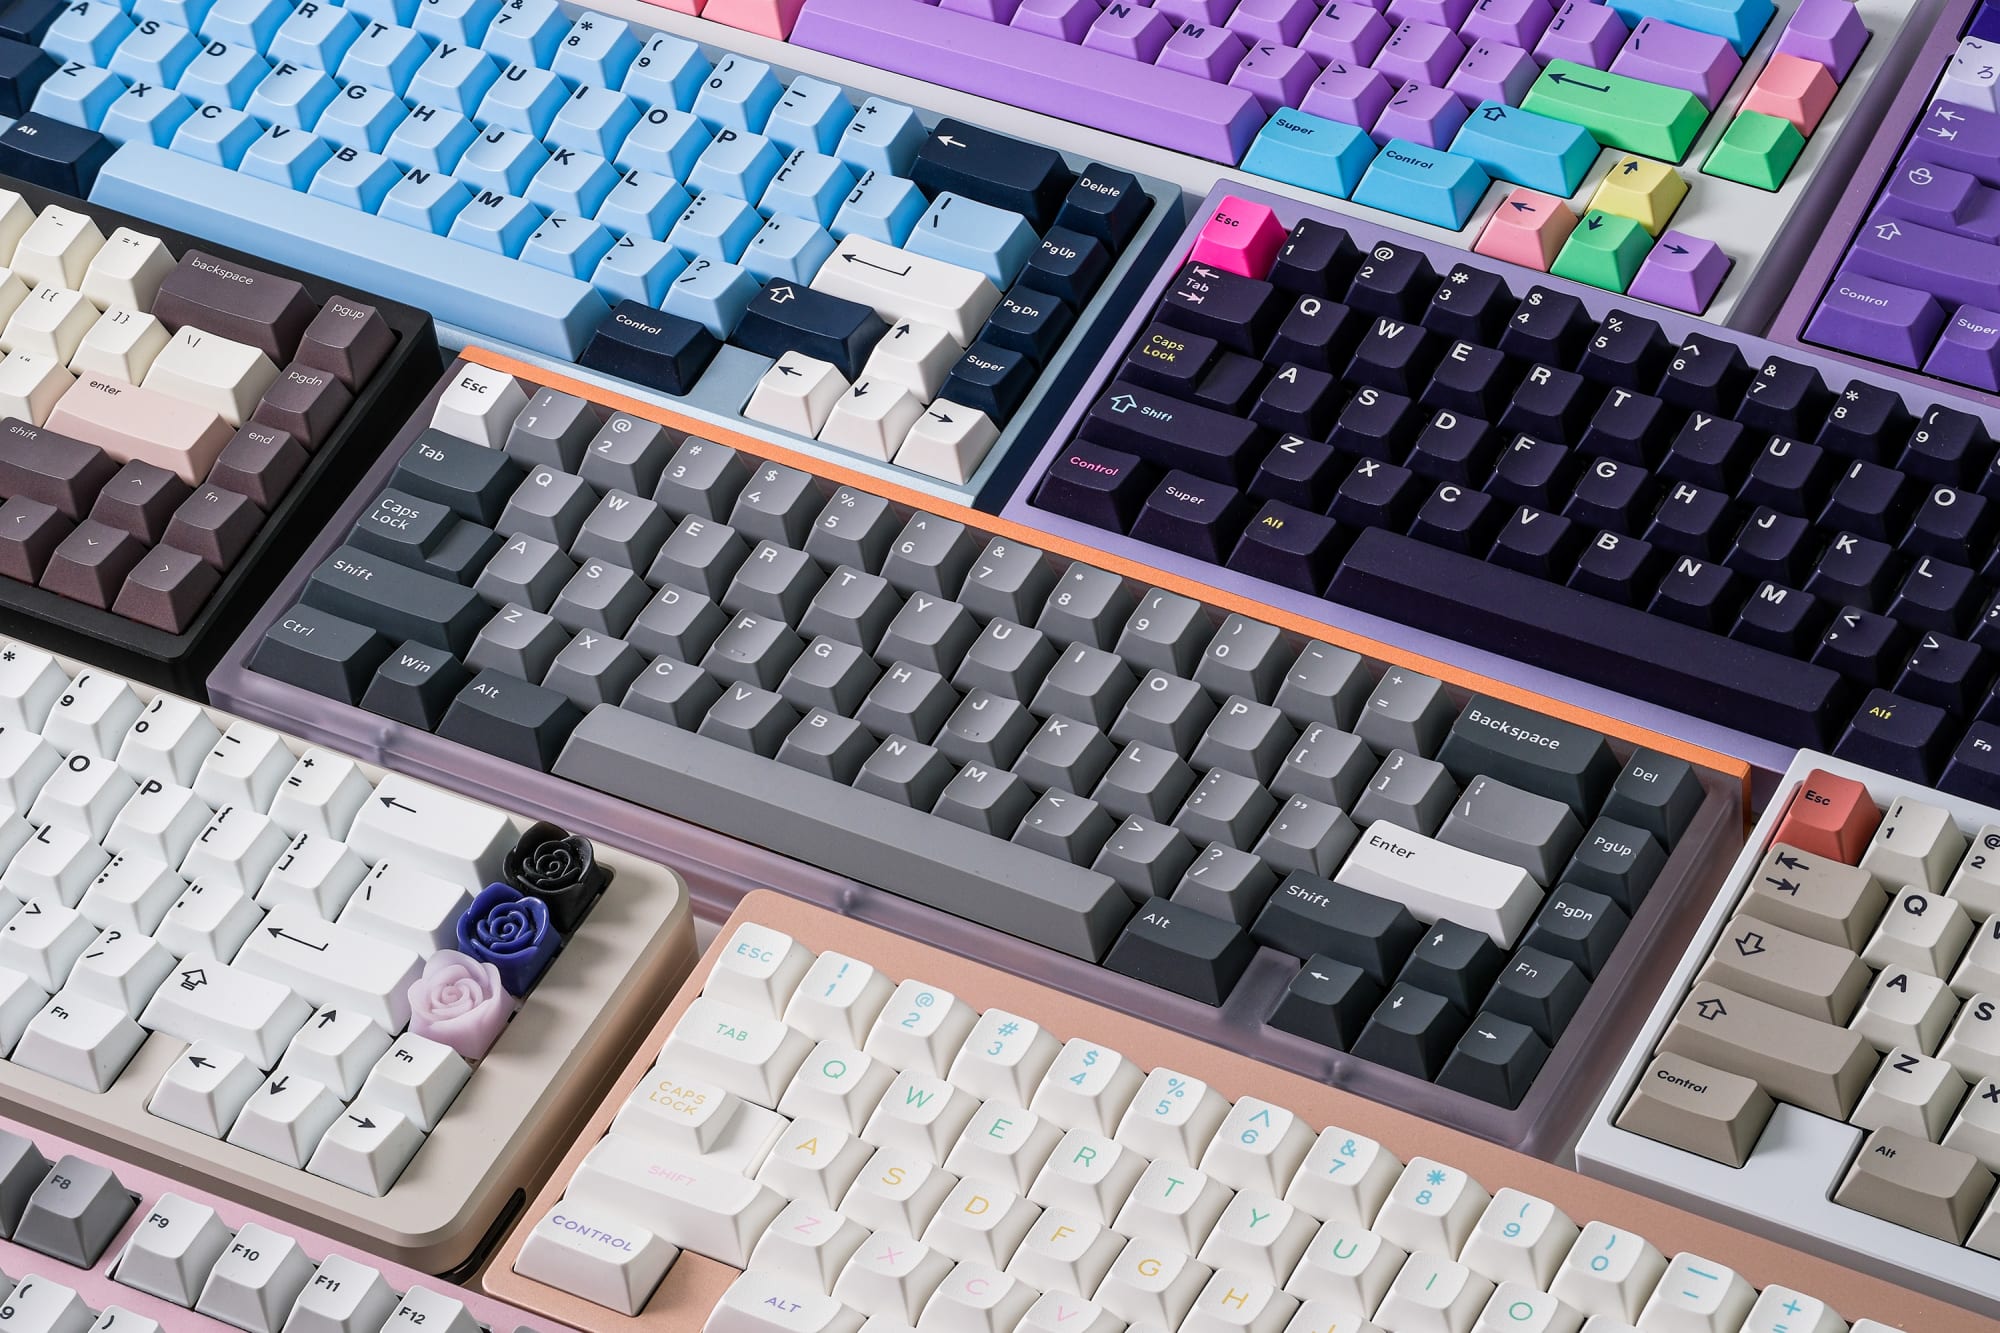
Seal V2 Keycaps on a 65% Keyboard
Keyboard Mounting Styles
We know what layout we are aiming for now, and now we can choose a case. When you’re looking into a keyboard case there are a few things you want to take into consideration. First is your mounting style. There are a lot of interesting and fun mounting styles and I will try to summarize this into something very digestible.

Top Mount

Screws into the top of the case and typically provides a stiffer typing experience with a usually louder sound profile that has some of the metal characteristics of the case as well as feeling some of the feedback and vibrations of typing.

Gasket Mount

Can come in a lot of forms these days but it isolates the plate/pcb assembly. This reduces or otherwise eliminates the case feedback and typing vibrations. Typing feel can range from stiffer to very soft depending on how this was implemented.

Gummy O-Ring Mount

Also knows as "Friction Fit" mounting, this method utilizes a giant o-ring that surrounds the PCB/plate assembly and doesn’t require any screws. It’s typically a soft typing experience and leans more towards the higher-pitched or “clacky” side of sound profiles.

Sandwich Mount

A less common mounting style that sandwiches the plate between the bottom and top case. Typically these are stiffer and produce lots of typing feedback as well as a metallic sound depending on the plate material.

Integrated Plate Mount

This is where the plate is physically part of the top case. They are very stiff. Sound can vary but it tends to lean toward very muddy sound signatures and sometimes metallic sounds.

Tray Mount

This is very common for cheaper prebuilt keyboards or cheaper cases. In their stock form, they are stiff to type on and the sound profile can widely vary on these. However, these styles of cases are the most fun to modify and can present a wonderful keyboard experience.
Keyboard PCBs
We’ve narrowed down our case options, so now it’s time to talk about our PCB. They typically come with your keyboard kit or for some keyboard cases they may require universal PCBs that can be purchased from a vendor’s website. There are some things you should probably know. Some have tons of cuts in the PCB that are called relief or flex cuts. It helps create a softer typing experience when paired with a plate that offers the same. The downside of lots of flex cuts is a thinner sound profile. Some PCBs require a daughter board depending on the case. Some come in a hot-swap or solderable version, which is our main talking point here.
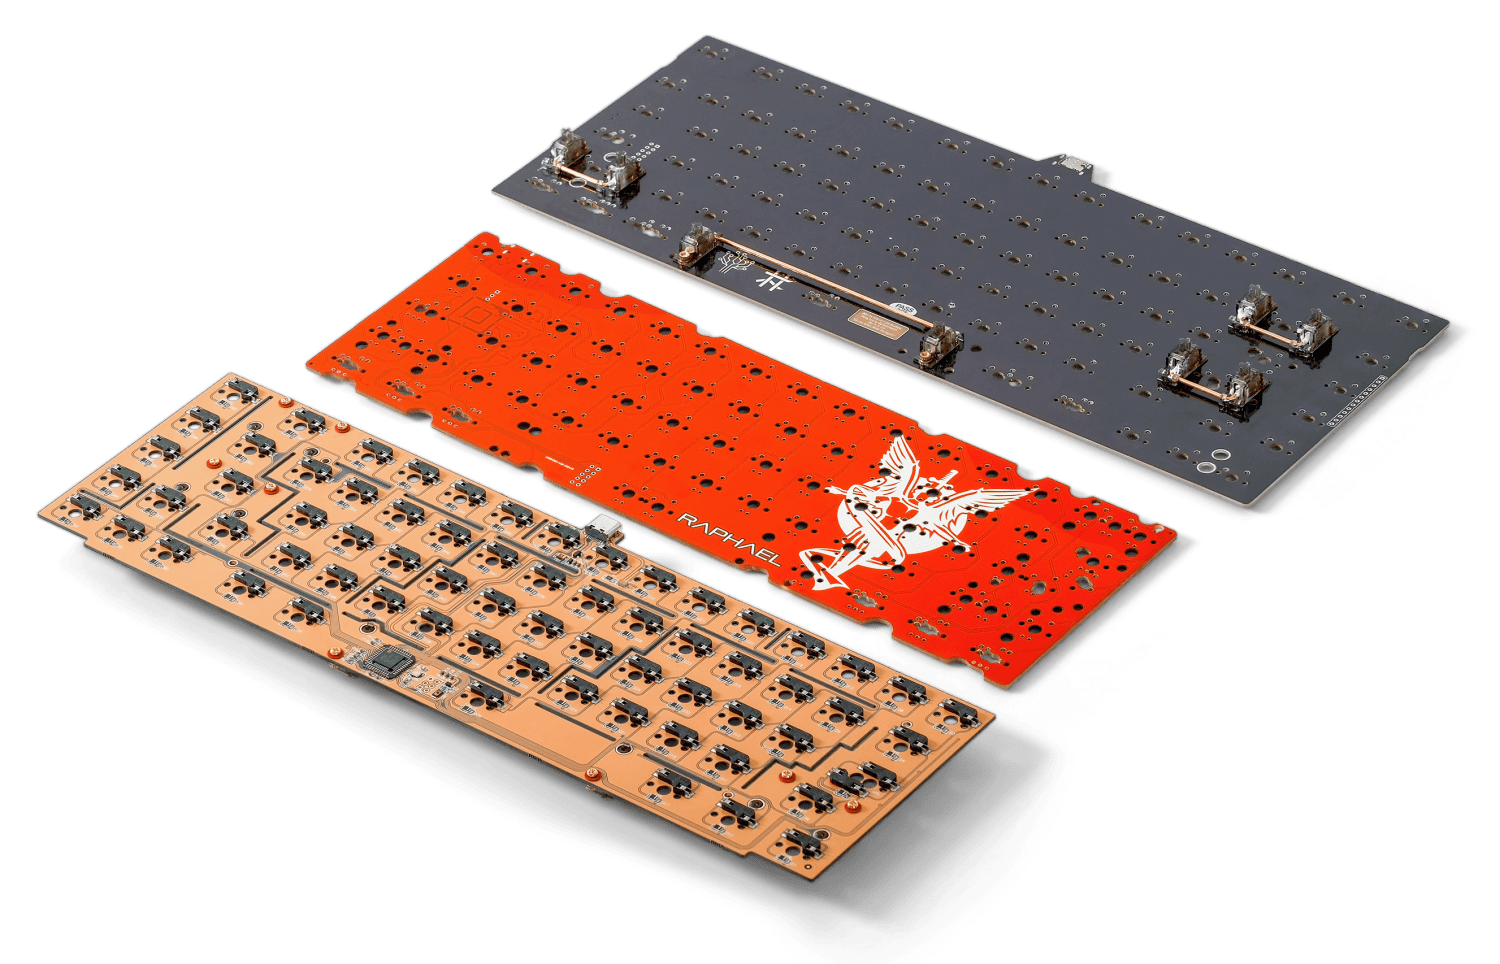
Solderable and Hot-swap PCBs
Hot-swap PCBs are great for people who haven’t fully decided on a switch to use or plan on doing multiple rebuilds to get the keyboard they desire without the need to touch a soldering iron. These are great for beginners or for anyone who may have a health issue with soldering. There are proper ways to insert switches into the hot-swap socket though. You want to make sure that the socket is supported with a desk or finger so it doesn’t run the risk of popping off.
Solderable PCBs come with the advantage of having tons of different layouts you can choose from since you are the one soldering it. It’s also a blast soldering in switches. However, you will need to desolder your switches if you make a mistake or want to swap something out. Which is tedious and can be pricey if you purchase a desoldering gun.
My recommendation: Go with a hot-swap PCB to start. It’s incredibly easy to use and offers a lot of flexibility for your keyboard journey.
Keyboard Plates
Typically when you purchase a keyboard, you will have to pick a plate. And as we said earlier, this is important. Which plate you choose can affect how stiff your keyboard is, the sound, and the layout. Most kits will come with a plate that works for the board, but if you’re sourcing parts separately, please read into what plate layout you’re purchasing and ensure it works with your keyboard.

Brass Keyboard Plate (Squid60)
Some boards offer varying materials of plates, too! If you’re confused here, I would suggest starting with an aluminum plate or FR4 plates as they tend to be very balanced. If you want to go stiffer, go with brass. If you want to go with something typically softer, move into the plastic plates like POM or polycarbonate. Please note plates do affect sound profile, so the plastic plates are typically softer or deeper in sound.
Think about it like this: a stiffer plate typically produces higher-pitched sounds while the softer plates are more typically deeper.
My recommendation: Again, I would go with aluminum or FR4. These are usually very good value plates that will provide a great typing experience and well-rounded sound profile.
Keyboard Stabilizers
Now we can talk about our smaller parts in the board. The only really important thing here is making sure you have the correct spacebar size you’re after and the correct amount of stabilizers for your build. As for the age-old question of what's the best stabilizer. You can get any stabilizer to sound amazing if you tune it correctly. Check out this guide here for more details:
My recommendation: Just about every stabilizer can be tuned to sound and feel amazing. If you’re newer and want something simple, grab a set of Durock stabs, a syringe of lube, and a brush. With these tools you can even tweak the stab tuning while the keyboard is fully assembled, which is less stress on you to make them perfect beforehand.
Keyboard Switches
This is something I had to rewrite so many times. Switches are confusing. I’ve asked so many people about switches as they enter the hobby and this is where they get stuck. Let’s be real here, there are so many switches, with so many different nuisances, materials, changes to the switch itself, springs, and even down to it being factory lubed. I didn’t want to make this overly complex, so here is the best-simplified breakdown I could conjure up.
The basics of switches are linear, tactile, and clicky. Linear and tactile switches are the most popular of the three. A quick summary of these is that tactiles have a bump as you actuate the switch, clicky switches… well click and bump, and linears don’t do either of those things.
As for picking a switch, well I understand it’s tough. But here’s the thing, we all overthink this. There is no best guide for picking what you may personally like for a switch but I can try my best to give some recommendations and you can explore the world of switches from there.
Choosing Linear Switches
- Want something loud or “clacky”:
- Go with a switch that features a long pole stem (linear).
- Want something tamer than the previous:
- Pick up a linear switch with a regular stem length or a silent switch.
- Want something deeper:
- Do the above and look for nylon housings. They are typically slightly deeper in sound.
Choosing Tactile Switches
- Want something with some tactility but not so much:
- Search for a switch that features a light bump like Penguin Switches.
- Want something loud and features a large bump:
- I would suggest going for something with a pronounced bump with a long stem, such as the Salmon switch.
Choosing Clicky Switches
Clicky Switches can all have a fun and sometimes unique sound profile so I would strongly recommend checking multiple sound demos to see which suits you the most!
But even with this being said, you have to remember that so many factors affect your keyboard's sound profile.
Lubing your switches is also important and I strongly suggest following one of many guides on the internet about this. Different lubes can lead to small changes in sound and feel! I always recommend lubing switches.
Keyboard Keycaps
This is the most fun part of finalizing a build. There are tons of different profiles of keycaps. Ranging from tall SA keycaps to more common Cherry profile keycaps. Each provides a unique sound profile. The two major materials you will encounter are ABS and PBT. ABS typically shines a bit quicker but has a brighter or higher-pitched sound when pairing it with keyboards. PBT does the opposite.
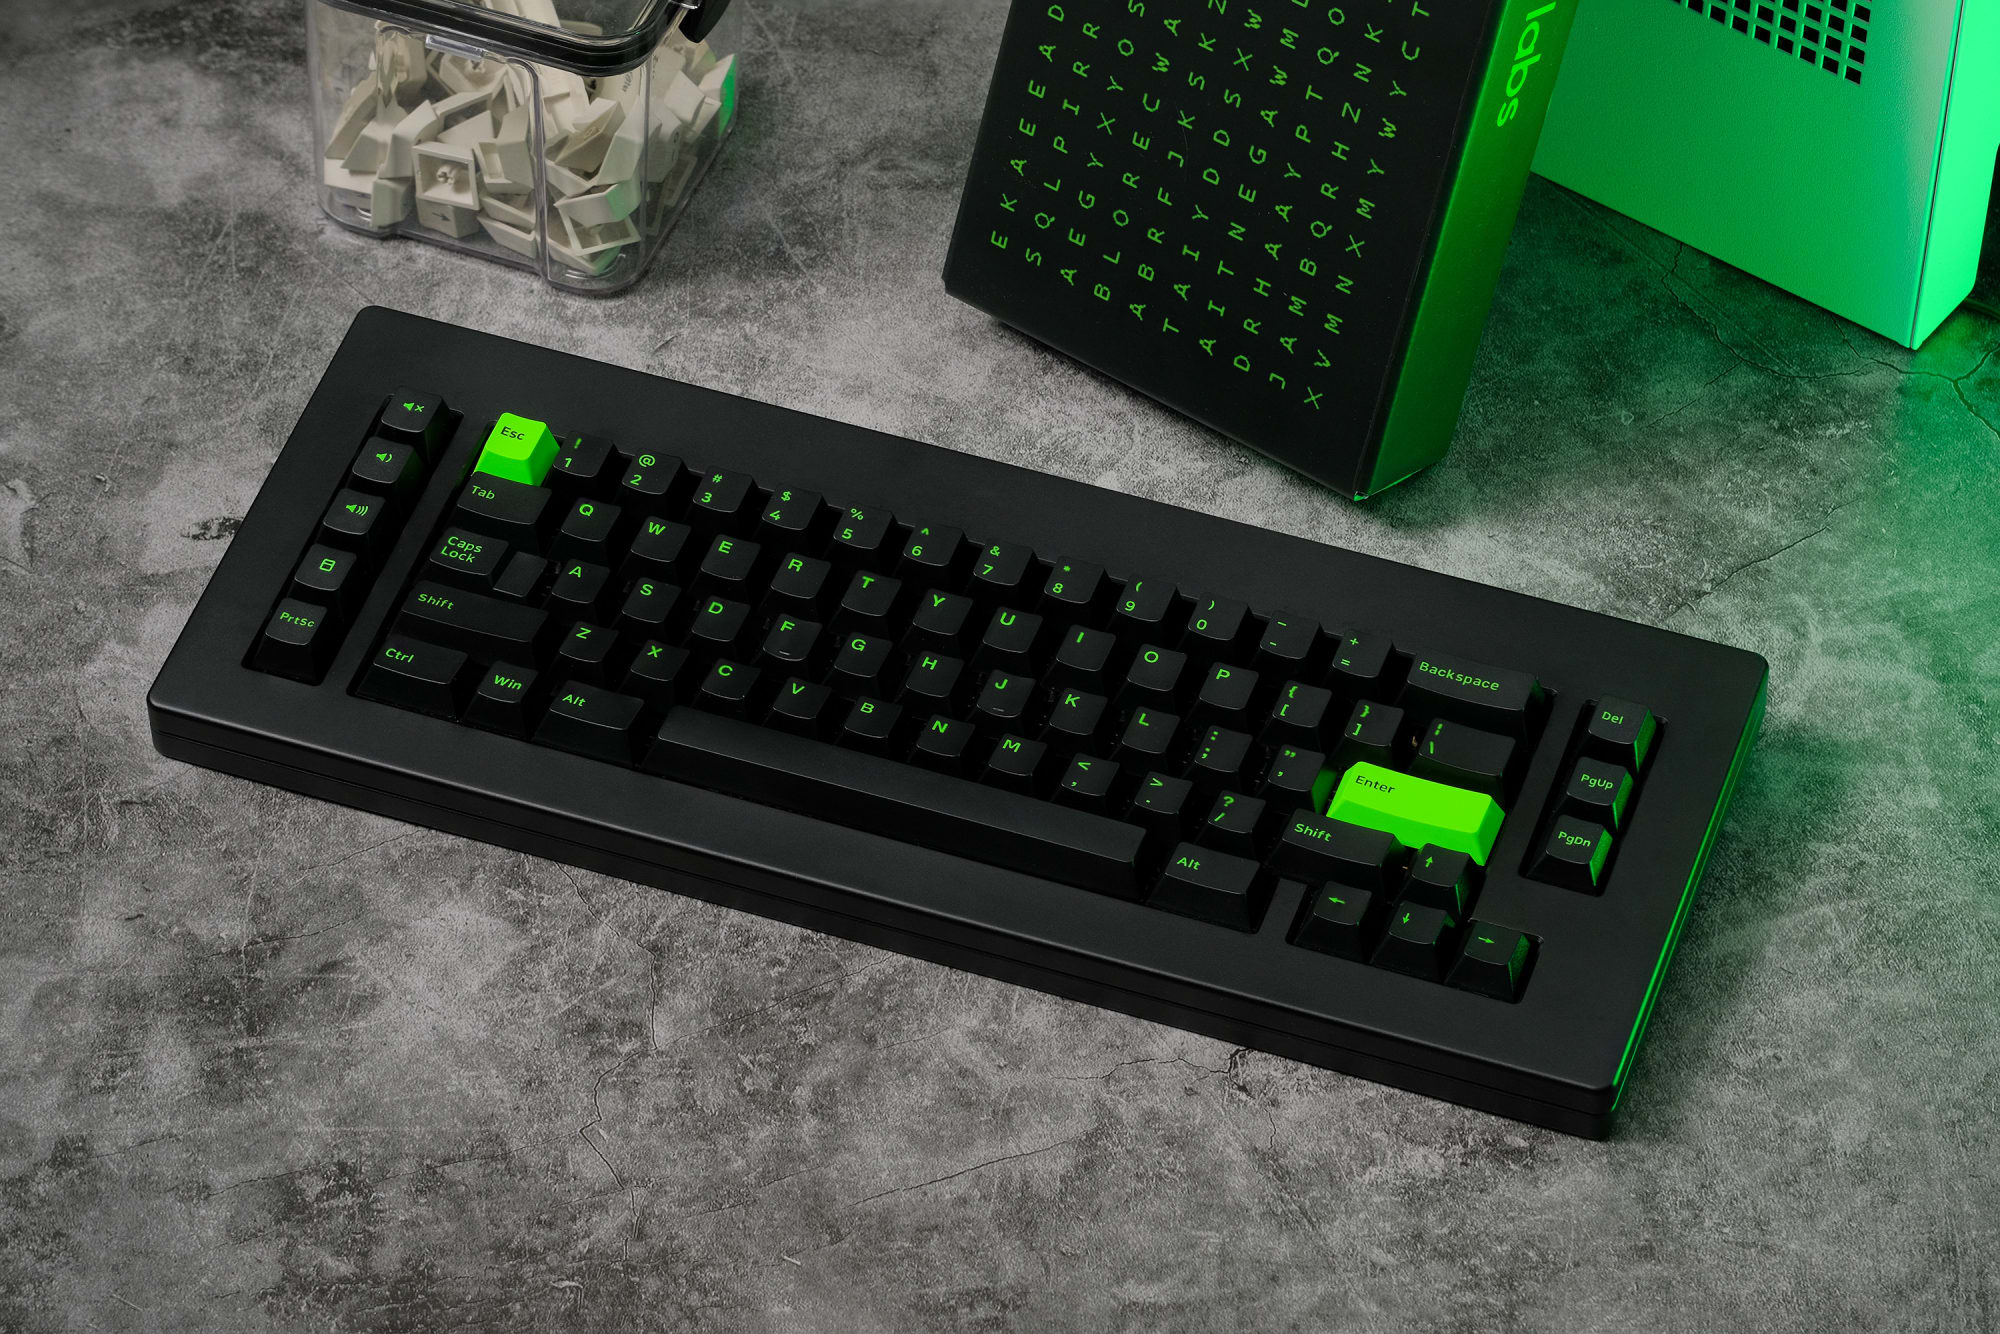
PolyCaps Code PBT Keycaps
When buying keycaps, make sure you buy a keycap set that is compatible with your keyboard. The two factors you usually have to look at are the keyboard layout and the direction of the LEDs if the keyboard supports RGB. For example, many north-facing LED keyboards do not support Cherry profile keycaps as they can lead to interference.
When in doubt, reach out to the seller of the keyboard kit to confirm that the keyboard supports the keycaps that you're looking to purchase.
Where do I buy keyboard parts?
Nowadays it’s pretty easy to find in-stock units of keyboards available and tons of in-stock parts. I suggest finding one of the community's many vendor lists and going from there using a checklist of what you need. Here is a good list to make sure you have what you need to start building:
- Keyboard Case
- PCB (Printed Circuit Board)
- Stabilizers
- Switches
- Keycaps
- Lubricants (for stabs and switches)
- Brushes (for lubing)
- Soldering iron
- Switch Puller and Switch Opener
- Precision Screwdriver Kit
- Tweezer Kit
A lot of the vendors still have what we call group buys. These are essentially community-funded projects (think of Kickstarter) where you get a bit of a discount for helping fund the project. These typically take longer and, although it’s very uncommon, do have some buyer's risk when joining.
In-stock sales are more common and you can see many more vendors have tons of products in stock and ready to ship (such as Kinetic Labs).
Building Your Mechanical Keyboard
It’s finally time to build the keyboard. Let’s start with some prep in the form of steps. Some stuff you should take care of beforehand is lubing your switches and making sure all parts you need are in hand.
Step 1: Testing your PCB
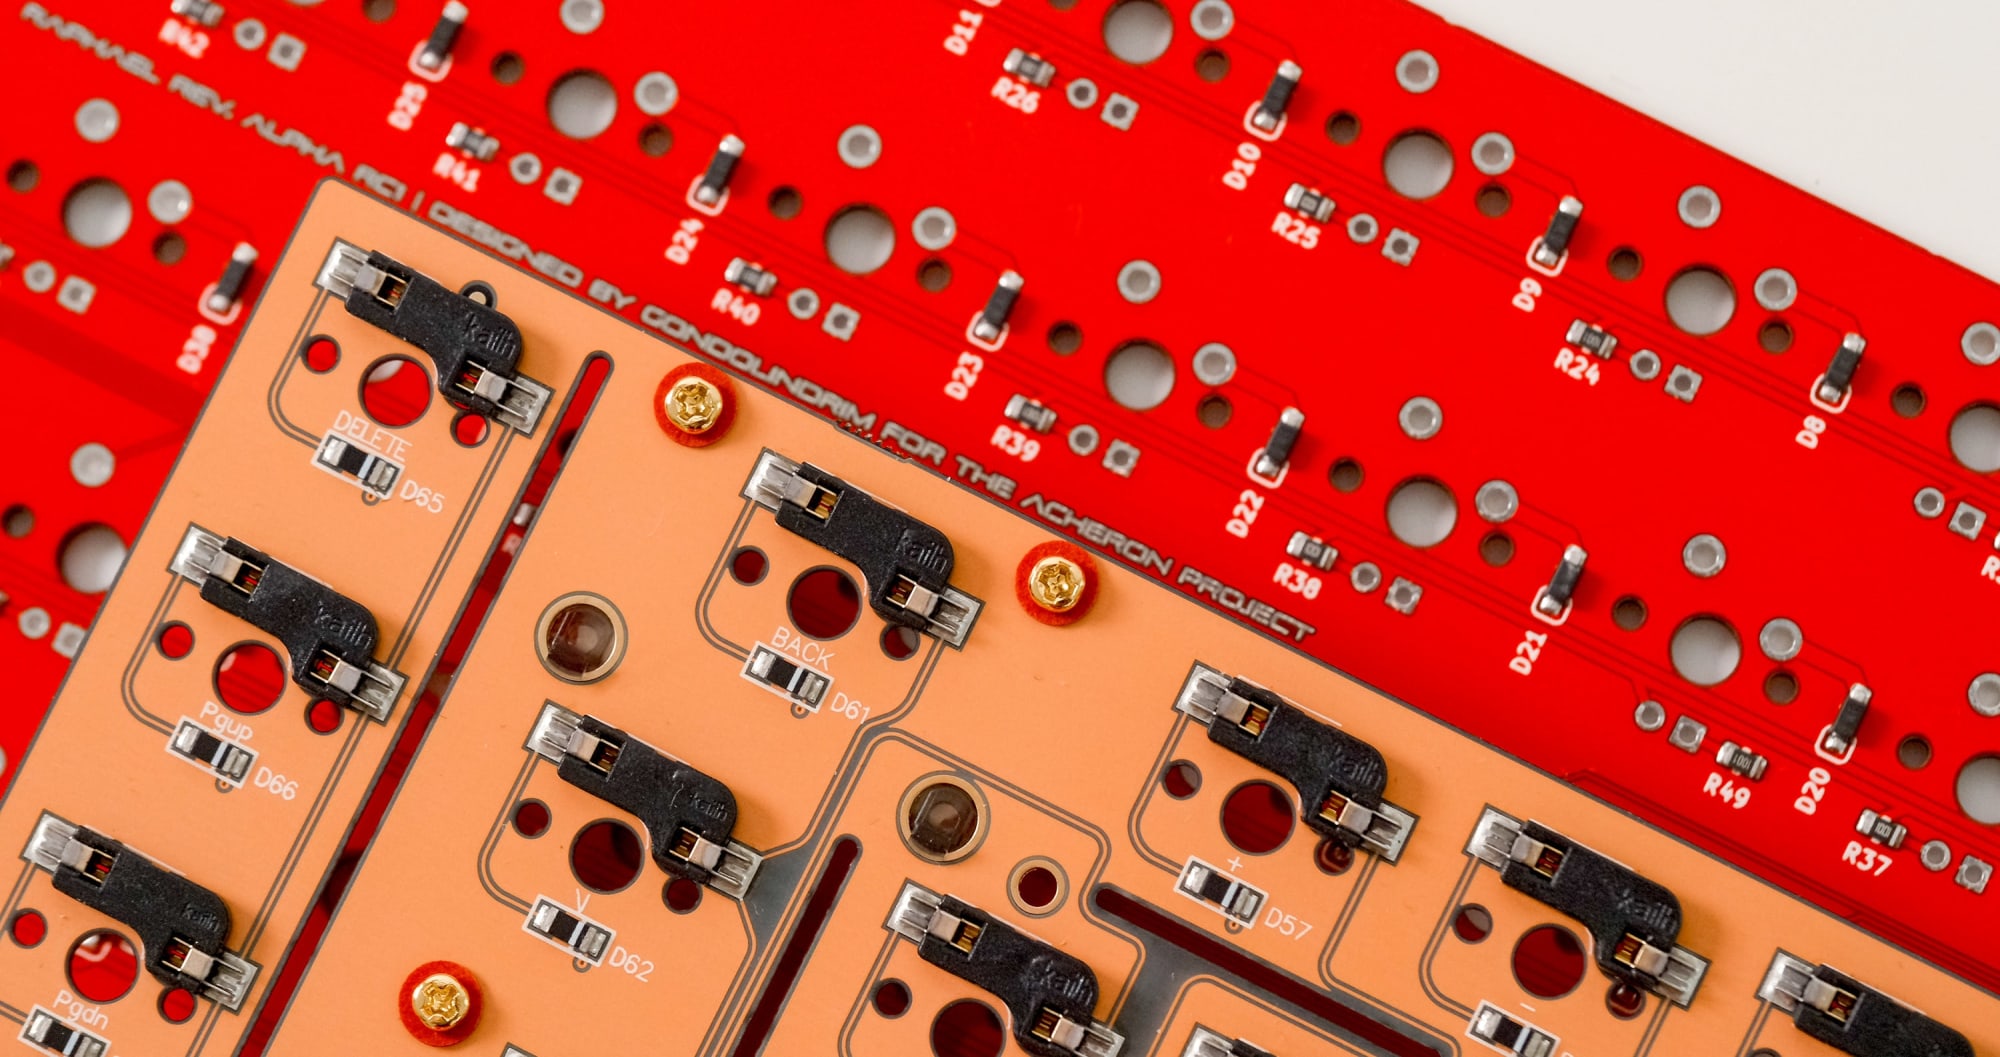
Close-up of Hotswap PCB
- Prep: Make sure you have tweezers on hand as well as a cable to plug in your PCB.
- Instructions: Boot up your favorite program to check if the PCB is working, we suggest VIA. Then lightly tap each switch with the tweezers as illustrated as it should light up in your program as a registered key! Repeat for all keys.
Step 2: Lubing/Installing your Stabilizers
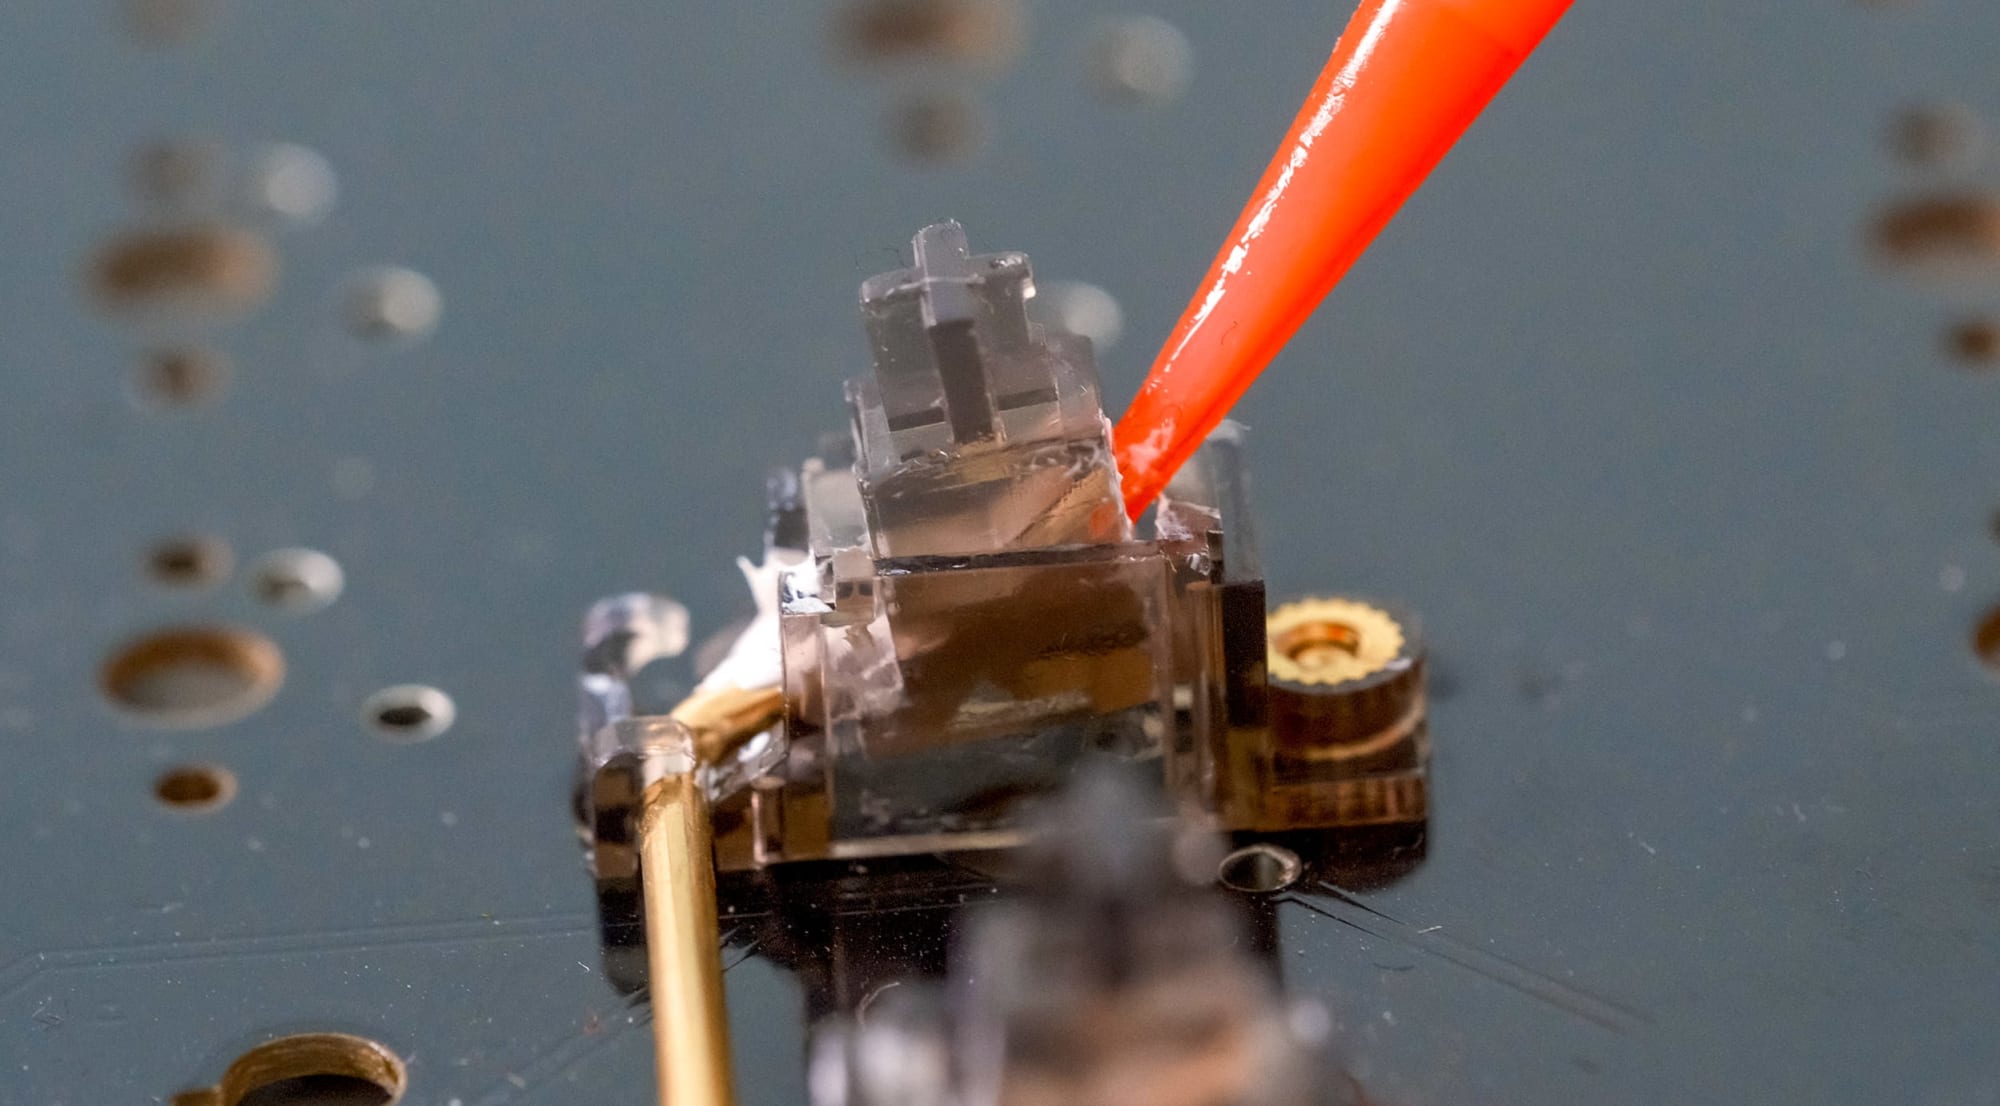
Lubing Stabilizer with Lube Syringe
- Prep: You’ll need your stabilizers, PCB, a brush, lube, and screwdriver set.
- Instructions: Lube and tune your stabilizers, there are tons of great videos on how to lube these properly. Then depending on your layout, install your stabilizers in the desired locations and screw them into place. You'll then want to place a switch in between them and text to see if they all function properly. Once this is done to your liking, move on to the next step. (video)
Step 3: Installing Switches
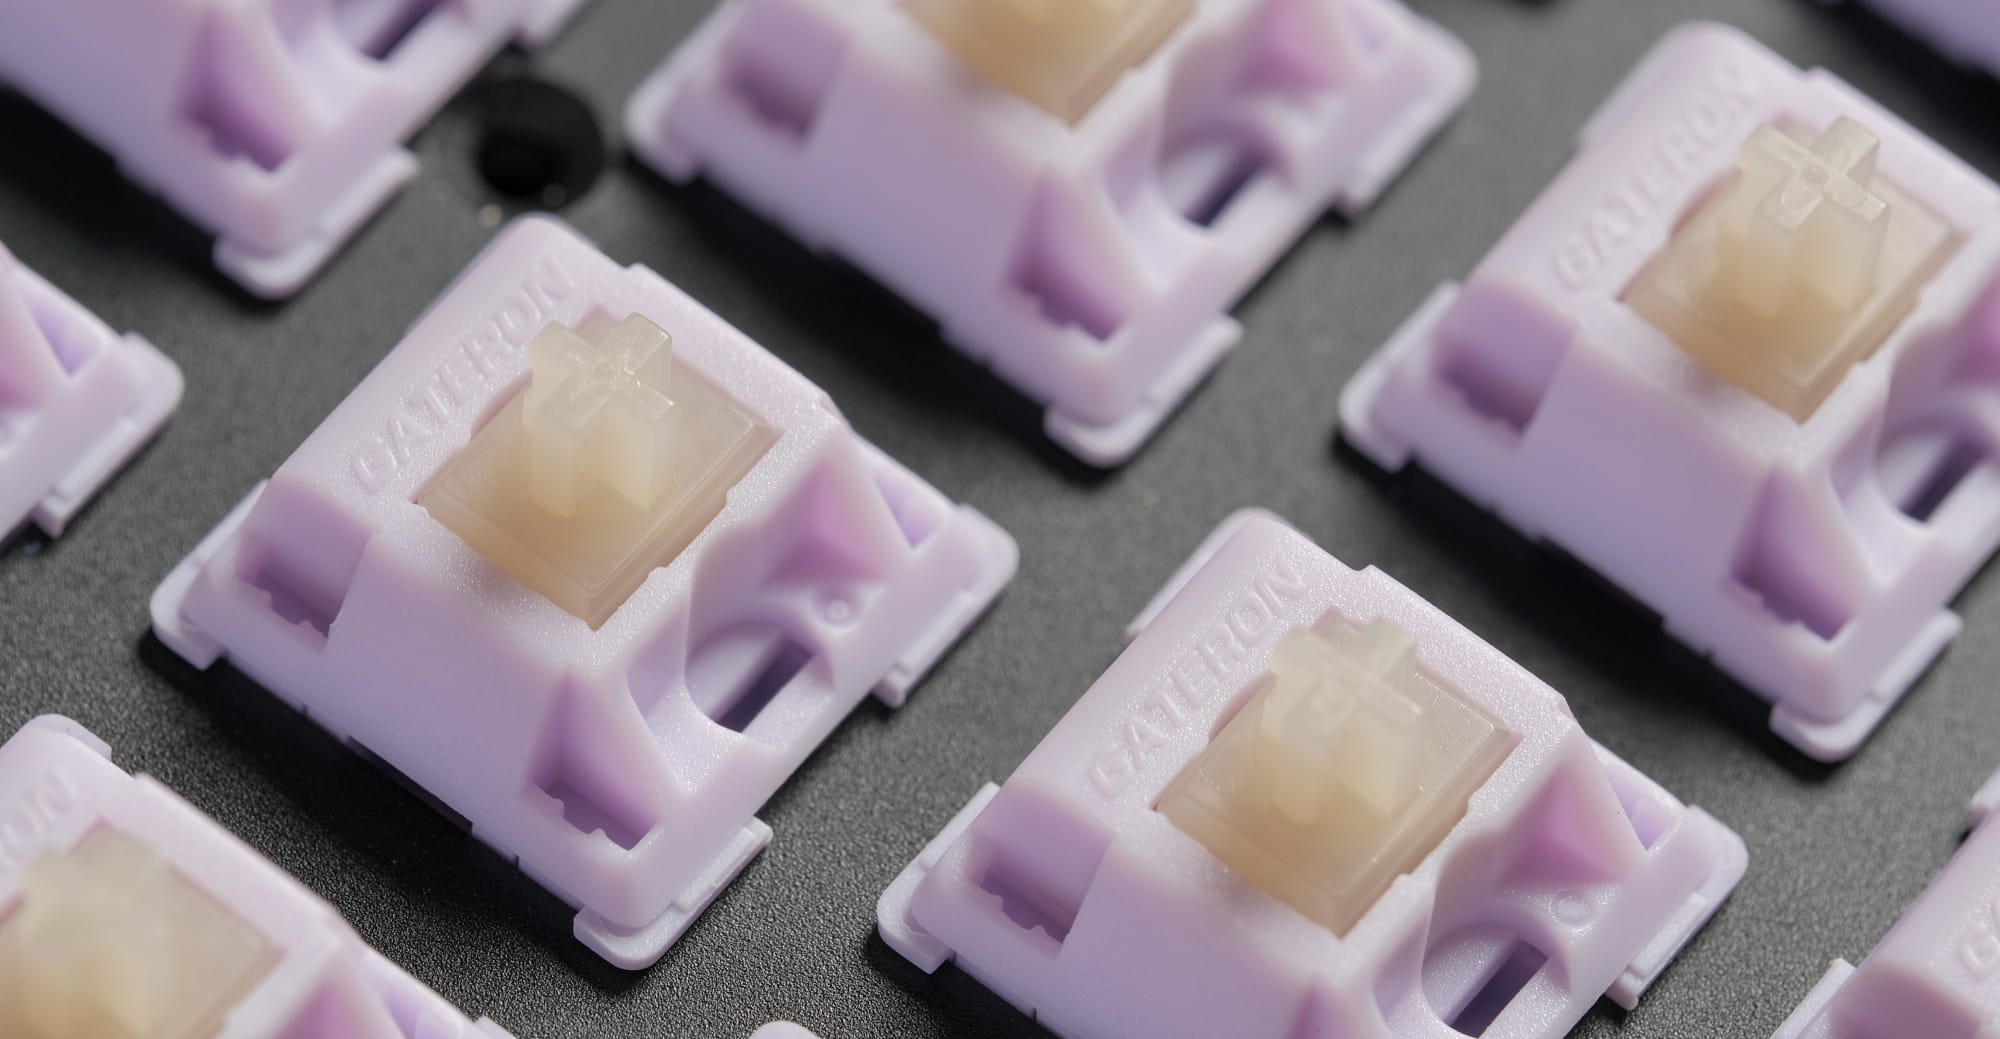
Hippo Linear Switches
- Prep: Switches are needed here as well as your PCB, plate, and soldering iron (if needed)
- Instructions: Place down your plate first, it should rest nicely on the stabilizers. Then start popping in your switches! If you are using a hot-swap PCB, be sure to support your sockets, if it’s soldered, make sure all switches are flush when pressing them into place. Then start soldering them all down!
Step 4: Prepping the Case
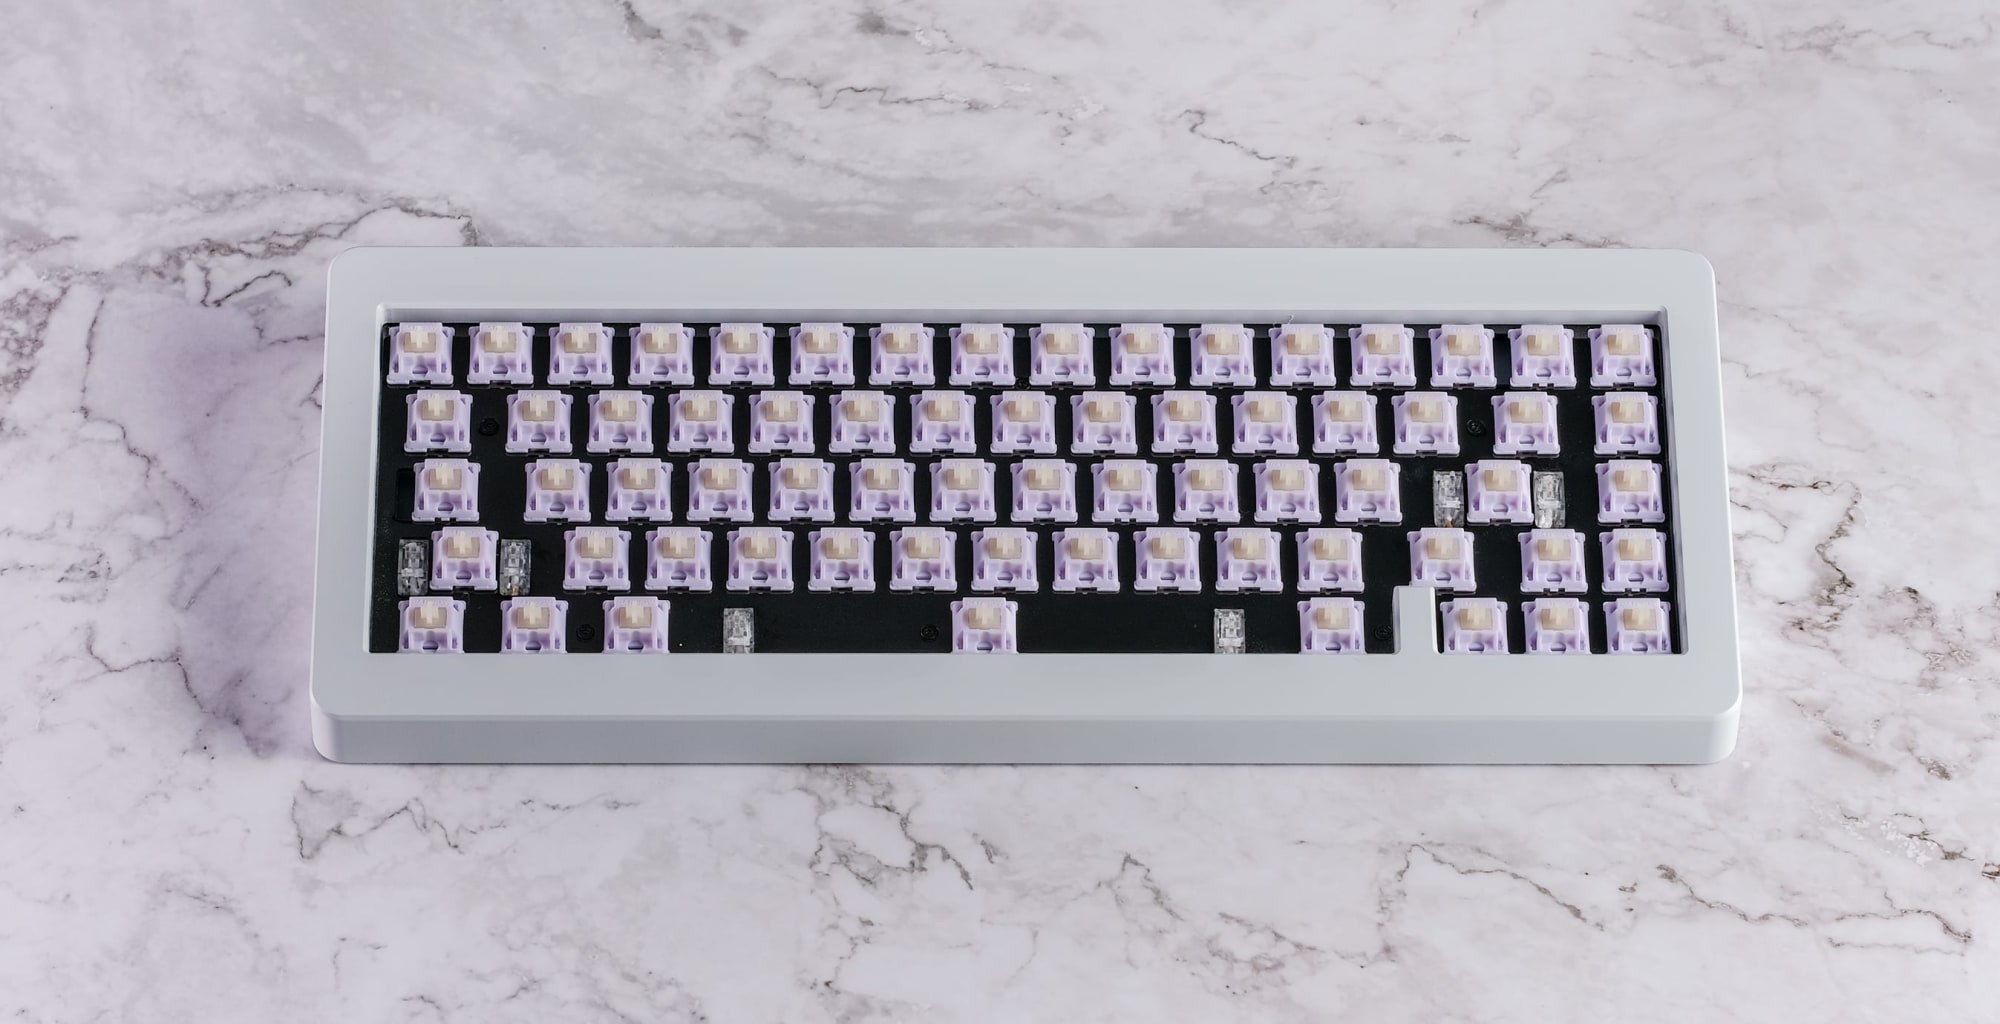
Hippo Switches on 65% Keyboard
- Prep: Your keyboard kit and any accessories that are needed (like gaskets, foam daughter board etc) and a screwdriver kit!
- Instructions: If this is a gasket build, start by installing those followed by adding your daughter board if this applies to you. Once done, add any other foam you need in your build. Then insert your PCB/PLATE assembly and depending on the mourning style, either screw it down or place it on the gaskets. You can now close your case and you're done.
Step 5: Using your Keyboard
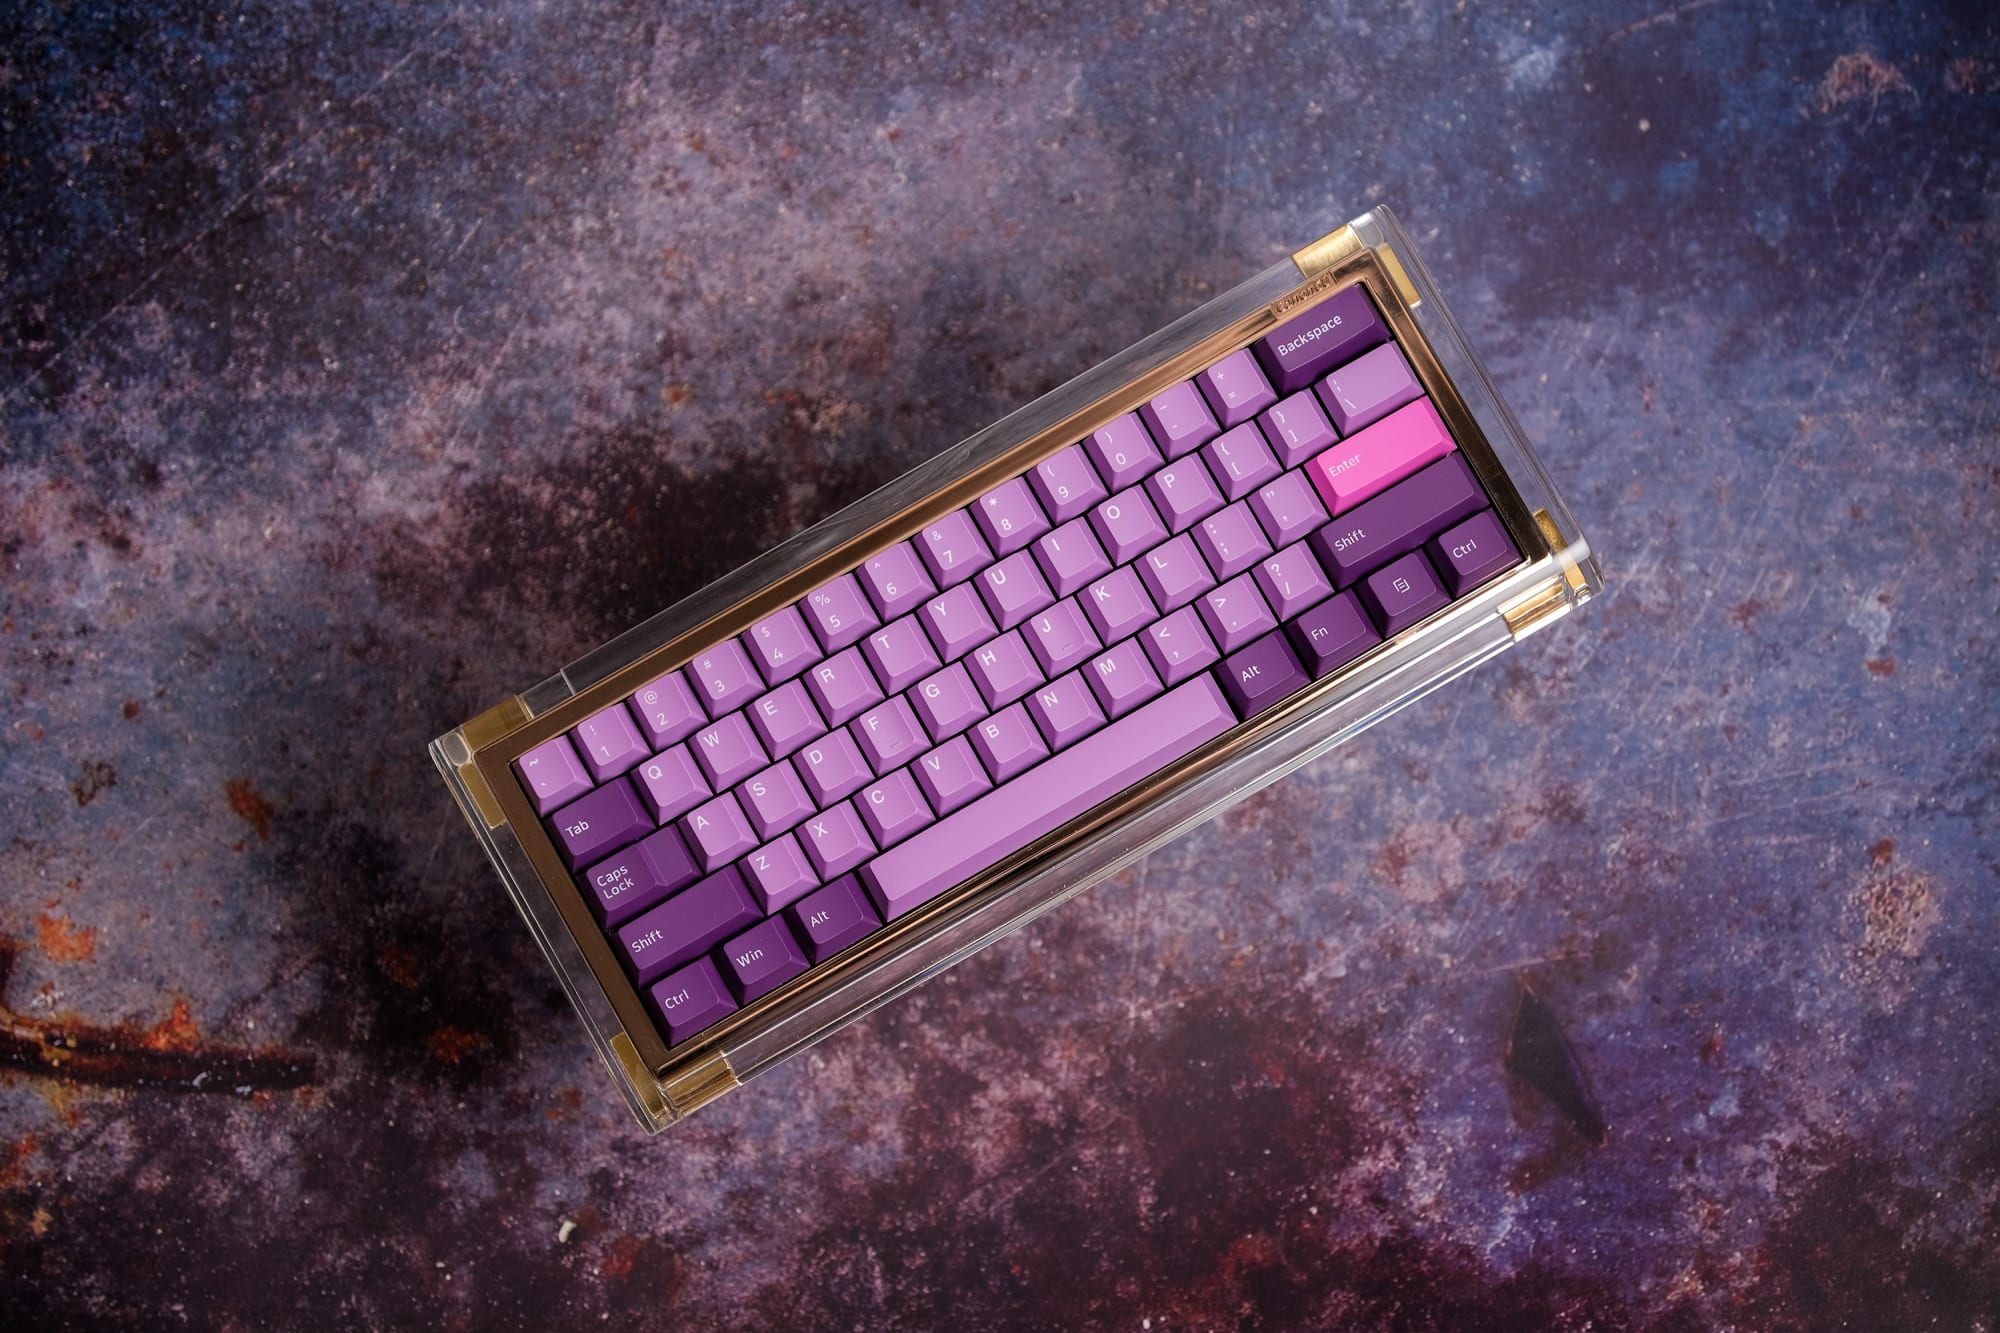
PolyCaps Octopus PBT Keycaps on 65% Keyboard
- Prep: make sure you've installed your switches and keycaps!
- Instructions: This is the easiest and most fun stop, add your keycaps on your keyboard. And you’re done!
Tuning How Your Keyboard Sounds
Well now the keyboard is built and if you followed along with the guide you may have recognized some key parts that make the keyboard sound different in our guide. Let’s dive deeper and figure out how we can further tune things.
- What if my keyboard sounds hollow?
- We recommend PolyFil or some poron foam if you have it! PolyFil is super light that can help get rid of the acoustic resonance of the case without compromising the entire sound profile of your board! Poron typically mutes the overall sound while doing the same.
- What if my keyboard is too quiet?
- Some kits can sound a bit too quiet, especially if you chose something softer like POM or PC for a plate, paired with a quiet switch. The best solution is to play around with different material/profile keycaps or choose a long pole or louder switch. A small hack you can do is taping the underside of the PCB with a layer or two of masking tape or painter's tape.
- My stabilizers rattle!
- Fret not, the easiest fix is a syringe of lube and slowly adding lube to your stabs. You can do this entire thing without disassembling the board.
After you are 100% happy with your board we want to remind you that everyone has a different taste and personal preference when it comes to keyboards. Everyone is different, and there are a lot of awesome things to find differences in. Keyboards are a luxury item at the end of the day and it’s easy to get lost in the complexities and cost of these things, as a reminder, don’t go broke over keyboards. The world of keyboards is also growing daily, with so many things to choose from, new caps, new switches, and more. It's a fun world that we are excited you choose to be in!
Happy building! 😊